Installing solar panels is a practical way to generate electricity at home and reduce how much power you need to buy from the grid. But the process involves more than choosing panels. A good installation starts with understanding your electricity use and roof, continues through system design and grant applications, and ends with testing, grid registration and learning how to monitor your system.
If you are considering solar installation in Ireland, knowing what happens at each stage can help you compare quotes and avoid common delays. Here is a clear guide to how a typical home solar PV project works, what you may need to arrange and what to expect from your installer.
What happens during a solar installation?
A solar photovoltaic system uses panels to convert daylight into direct current (DC) electricity. An inverter converts that electricity into alternating current (AC), which is used by most household appliances. You can use the electricity as it is generated, store some surplus in a compatible battery, or export eligible excess electricity to the grid. The exact system and connection arrangements depend on the home and the equipment selected.
How Solar Panels Work
Solar panels generate electricity from daylight using photovoltaic (PV) cells. When light reaches the cells, it creates an electrical current. The panels produce direct current (DC), while most household appliances use alternating current (AC). An inverter converts the panels’ DC electricity into AC so it can be used in the home.
In a typical grid-connected system, the electricity generated is available to power household appliances as it is produced. If the home needs more electricity than the panels are generating—for example, in the evening or during a period of low daylight—the home can draw the shortfall from the electricity grid. If the panels generate more than the home is using, the surplus can be stored in a compatible battery, if one is installed, or exported to the grid.
The process can be understood in five simple stages:
1.Daylight reaches the panels. The panels generate DC electricity from available daylight. Output changes with the weather, season, shading, roof direction and system size.
2.The inverter converts the electricity. It changes DC power from the panels into AC electricity suitable for household use.
3.The home uses the power. Appliances running while the system is generating can use solar electricity directly, reducing the amount the home needs to import from the grid.
4.A battery stores optional surplus. If a battery is part of the system, it can store some excess generation for later use. Solar panels do not store electricity on their own.
5.Surplus can be exported. If generation exceeds the home’s use and any battery charging, eligible electricity can be exported to the grid. Export payments depend on the supplier’s terms and the required microgeneration registration being processed.
A solar PV system is therefore connected to the home’s electrical setup, not just to the roof. The panel layout, inverter, battery choice, monitoring equipment and grid notification all form part of the overall system design.
Solar panels can generate electricity in Ireland’s variable weather, although output changes with daylight, cloud, season, roof direction, shading and system size. A tailored design should estimate expected generation for your property rather than promise a fixed level of savings.

Step 1: Review your electricity use and goals
Before contacting installers, look at your recent electricity bills and think about when your household uses the most electricity. If you are usually home during the day, you may be able to use more of the solar electricity as it is generated. If most of your electricity use takes place in the evening, you could ask whether a battery makes sense for your household. A battery can store some surplus daytime generation for use later, but it adds to the upfront cost and is not essential for every home.
Also consider any planned changes, such as an electric vehicle, heat pump or home extension. These could change your future electricity needs and influence the system size. Your installer should discuss your current and expected demand rather than simply filling the available roof space with panels.
Step 2: Arrange a home survey
The first practical step is usually a consultation and site assessment. The installer will discuss your budget and energy needs and assess whether the roof and electrical setup are suitable. LVP Renewables describes its process as including a review of energy needs, budget, roof condition, orientation and shading.
The survey should consider the usable roof area, pitch, direction and obstructions such as chimneys, trees or neighbouring buildings. The installer may also review access, cable routes, the location of the inverter and the condition of your electrical installation. If roof repairs are needed, find out before installation so that the panels do not have to be removed soon afterwards.
Step 3: Receive a system design and written quote
Once the survey is complete, the installer can recommend a system suited to your property. The proposal should explain the number and type of panels, total system capacity in kilowatt-peak (kWp), inverter, optional battery, expected annual generation and where equipment will be installed. Kilowatt-peak is a rating of a solar system’s capacity under standard test conditions; actual generation varies with weather and site conditions.
Ask for a written quote that clearly identifies the equipment, total price, installation work, estimated timeline, warranties and any optional extras. It should explain the assumptions behind estimated savings and separate the electricity you expect to use at home from any electricity you might export. Compare several quotes on a like-for-like basis and ask about aftercare, monitoring and who to contact if a fault occurs.
LVP Renewables says it offers tailored solar solutions and manages projects from survey to switch-on. The company states that it has completed more than 5,000 solar installations and has over 40 years of renewable-energy experience.
Step 4: Check planning requirements and apply for the SEAI grant
Irish planning rules generally exempt rooftop solar panels on houses from planning permission, but the exemption has conditions. Restrictions can apply to protected structures, Architectural Conservation Areas and other specific circumstances. Check the current rules for your property and contact your local planning authority if you are unsure.
Homeowners may be able to reduce the upfront cost with the SEAI Solar PV grant. As of October 2026, the standard grant offers €700 per kWp for the first 2 kWp and €200 for each additional kWp up to 4 kWp, with the solar PV grant capped at €1,800. A separate €600 grant is available for an eligible battery of 5 kWh or larger. The home must have been built and occupied before 2025, have an MPRN, and must not have received previous SEAI solar PV funding at that MPRN. Check SEAI’s current requirements before applying, as grant rules can change.
Choose an SEAI-registered solar PV company and apply for the grant before installation work begins. Wait for the Letter of Offer and check that the installer and system details are correct. SEAI says applicants have eight months after grant approval to complete the work and submit the required documents. A post-works BER assessment by a registered assessor is required before the grant can be drawn down.
Step 5: Arrange the ESB Networks notification
A grid-connected solar PV system must be notified to ESB Networks. For many household systems, this is done using an NC6 microgeneration notification. ESB Networks says a correct application is normally processed within 20 working days, although extra information may extend the timeframe. The customer can submit the form, but because it includes technical details, the installer or electrician commonly helps complete it. Confirm with your installer who is responsible and ask for confirmation that the application has been submitted.
This step matters if you intend to export surplus electricity. ESB Networks needs to process the installation and export capacity details so that export can be recorded and shared with your supplier. Do not assume that exported power will be credited before the required registration is complete.
Step 6: Installation day
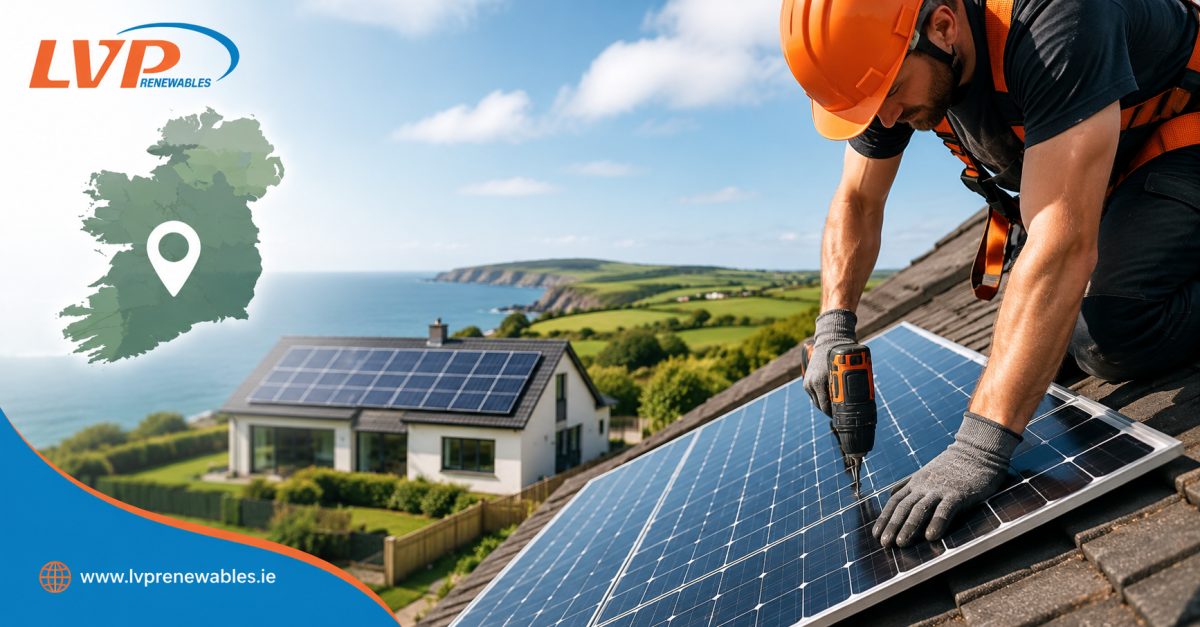
Once the design, equipment and required approvals are in place, the installation team can begin. The crew normally fits mounting equipment to the roof, secures the panels, installs the inverter and runs the required cabling. The inverter is commonly placed near the home’s electrical equipment, subject to the design and manufacturer requirements. If you have selected a battery, the installer will also fit and connect it as part of the agreed system.
The team should work to the agreed layout and take appropriate care with roof access, electrical safety and cable routes. Before the work begins, ask what access is needed, whether someone needs to be at home, and how the team will protect the work area. LVP Renewables describes the on-site process as roof preparation, panel mounting, electrical wiring and connection of the grid-tied system.
For many homes, the physical installation takes around one or two days once the system has been designed and the parts are on site. The full journey—from initial survey and grant paperwork to installation and switch-on—can take longer and may span several weeks. Timing depends on the property, equipment availability, grant and grid processes, weather and installer schedule.
Step 7: Test, commission and understand your system
After the equipment is fitted, the installer should inspect the panels, inverter, wiring and monitoring setup and confirm that the system is operating correctly. You should receive an explanation of how the system works, how to view generation and what to do if an alert appears. Many systems provide monitoring through an app or online portal, letting you see how much electricity is being generated and, depending on the setup, how much is being used or exported.
Keep the system documentation, warranties, safety file and electrical paperwork in a safe place. If you are claiming an SEAI grant, make sure the Declaration of Works and other required documents are completed and submitted in time. Book the required post-works BER assessment before drawing down the grant.
Step 8: Use your solar electricity and understand export payments
You can often make better use of solar generation by running suitable appliances during the day, when the system is producing power. A battery may store some excess electricity for later, while surplus electricity can be exported to the grid once the connection and export details have been processed.
The CRU explains that electricity suppliers pay eligible customers for each metered kilowatt-hour exported to the grid, at the supplier’s export rate. The credit may appear on the usual electricity bill or on a separate statement. Check your supplier’s current terms and rate, since export payments are separate from the savings you make by using your own solar electricity.
Step 9: Monitor output and look after the system
Once the system is switched on, check the monitoring app from time to time and become familiar with what normal output looks like for your home. Generation will naturally vary through the year and from day to day. If you notice a persistent fault message or a sharp unexplained drop in performance, contact your installer or the equipment manufacturer for advice.
Solar PV systems generally need limited routine attention, but follow the manufacturer’s maintenance guidance and keep records of any service. Do not climb onto the roof or attempt electrical repairs yourself. Ask your installer what inspections, cleaning or aftercare are recommended for the panels and inverter.
A smoother solar installation starts with good planning
The steps involved in solar installation in Ireland are straightforward when each part is handled in the right order: understand your electricity use, assess the roof, compare a detailed design and quote, apply for any grant before work starts, complete the grid notification, install and test the equipment, then monitor generation and export.
A professional installer should explain the system clearly and help you understand what is included in the quote. LVP Renewables provides solar PV and battery solutions, with support from the initial survey through to installation. Contact the team to discuss your home and request a tailored proposal.
FAQs
How long does solar installation take in Ireland?
The physical installation at a typical home can take one or two days once the design is final and equipment is on site. The full process, including survey, grant paperwork and grid notification, can take several weeks and varies by project.
Do I need planning permission for solar panels on my house?
Rooftop solar panels on houses are generally covered by planning exemptions in Ireland, but conditions and limitations apply. Protected structures and Architectural Conservation Areas may be subject to additional restrictions, so check your specific property before proceeding.
How much is the SEAI solar grant?
As of October 2026, the standard domestic grant is up to €1,800 for solar PV. Eligible homeowners may also apply for a €600 battery grant for a battery of 5 kWh or larger. Eligibility rules apply, and grant approval must be received before work begins.
Can I get paid for extra electricity my panels export?
Eligible exported electricity may be paid by your electricity supplier under its export tariff. The ESB Networks microgeneration notification must be processed so the export can be recorded; check your supplier’s current rate and terms.
Will solar panels work in cloudy Irish weather?
Solar PV panels generate electricity from daylight, so they can still produce power in overcast conditions, although output is generally affected by cloud, season, shading, roof orientation and system design. Ask your installer for a property-specific generation estimate rather than relying on a guaranteed output figure.