Thinking about installing solar panels at home? Understanding the process can make it easier to compare quotes, plan your budget and know what to expect on installation day. A well-designed solar PV system can generate electricity for your home, reduce the amount you need to buy from the grid and, when you produce more than you use, allow surplus electricity to be exported to the grid. Your actual savings depend on your system, household use, weather, electricity prices and export tariff.
Solar panel installation in Ireland is not simply a matter of fixing panels to a roof. A professional project involves checking the property, designing the right system, confirming grant and grid requirements, carrying out electrical and roof work, and explaining how to use the system once it is switched on. Here is how the process usually works, and what homeowners should consider at each stage.
Step 1: Review your home and electricity use
Start by looking at how and when your household uses electricity. Check a recent electricity bill, note the appliances that use the most power and consider whether your daytime routine is likely to change. For example, running a washing machine or dishwasher while the panels are generating can help you use more of your own solar electricity directly. If you are considering an electric vehicle, heat pump or home battery, mention it during the first conversation with an installer. These plans may affect the system design.
A solar PV system generates electricity from daylight. It can still produce power on cloudy days, although output varies with conditions and is usually strongest when sunlight is more direct. A battery can store some of the electricity generated during the day for later use, but it adds to the system cost. Ask the installer to explain the expected generation and how much of it your household may use, rather than relying on a single headline savings figure.
Step 2: Arrange a consultation and roof assessment
A reputable solar panel installer will discuss your goals, household electricity use, budget and property before recommending a system. The site assessment should consider the roof’s condition, available space, direction, pitch and shading from trees, chimneys or nearby buildings. The installer may also check the location for the inverter, cable routes and the home’s electrical setup.
These checks help determine whether the roof is suitable and where panels can be positioned. If repairs or roof work are needed, it is usually sensible to understand that before solar panels are installed. Ask what the survey includes and whether the quote is based on an on-site inspection or preliminary information only.
Step 3: Choose a system designed for your home
After the assessment, the installer can recommend a system size and layout. The proposal should explain the number and type of panels, the system capacity in kilowatt-peak (kWp), inverter choice, estimated annual generation and any battery storage option. Kilowatt-peak describes the system’s rated capacity under standard test conditions; it is not a promise that the system will generate that output continuously.
Ask for the assumptions behind the generation and savings estimates. A clear proposal should distinguish between electricity you use in the home and electricity you may export. It should also show the total installed price, any optional extras, the expected installation schedule, warranties and what aftercare is included. Compare written quotes on a like-for-like basis: a lower price may not include the same equipment, electrical work, monitoring or support.
LVP Renewables describes its residential solar solutions as tailored to the home and roof, with system design, installation and support. Its website also states that it has completed more than 5,000 installations and has over 40 years of renewable-energy experience.
Step 4: Check planning, grant and grid requirements before work starts
In Ireland, rooftop solar panels on houses are generally covered by planning exemptions, but exemptions have conditions and limitations. Special restrictions can apply to protected structures, Architectural Conservation Areas and other specific circumstances. Check the current rules for your property and ask your local planning authority or a suitably qualified professional if you are unsure.
Homeowners may also be eligible for an SEAI solar PV grant. As of October 2026, the standard grant is €700 per kWp for the first 2 kWp and €200 for each additional kWp up to 4 kWp, with a maximum solar PV grant of €1,800. A separate €600 grant is available for an eligible battery of 5 kWh or larger. The home must have been built and occupied before 2025, have an MPRN, and must not have received previous SEAI solar PV funding at that MPRN. Eligibility and terms can change, so check the official SEAI page before applying.
Apply for the grant and wait for the SEAI Letter of Offer before installation work begins. The grant is not automatic: the property, chosen registered company and system details must meet the scheme rules. SEAI says applicants have eight months from approval to complete the works and submit the required completion documents. A post-works BER assessment by a registered assessor is also required before the grant can be drawn down.
Your system must also be notified to ESB Networks for connection as a microgenerator. For many domestic systems, the installer submits the NC6 notification and technical details. ESB Networks says a valid application is normally processed within 20 working days, although it can take longer if information is missing. Agree with your installer who is handling the notification and ask for a copy of the submitted paperwork.
Step 5: Review the written quote and installation plan
Before accepting the proposal, read the contract carefully. Confirm the equipment models, system size, total price, payment schedule, expected start date, installation scope, warranties and any exclusions. Ask who will arrange the SEAI paperwork, ESB Networks notification, electrical certification and post-installation documents. It is useful to know who to contact if the weather delays the work or if the roof or electrical system needs additional attention.
A grant application should be in the correct name and relate to the agreed installer and system. If you need to change the installer or system details after receiving an offer, contact SEAI before work begins. Do not assume that a change will be covered automatically by an existing approval.
Step 6: Installation day
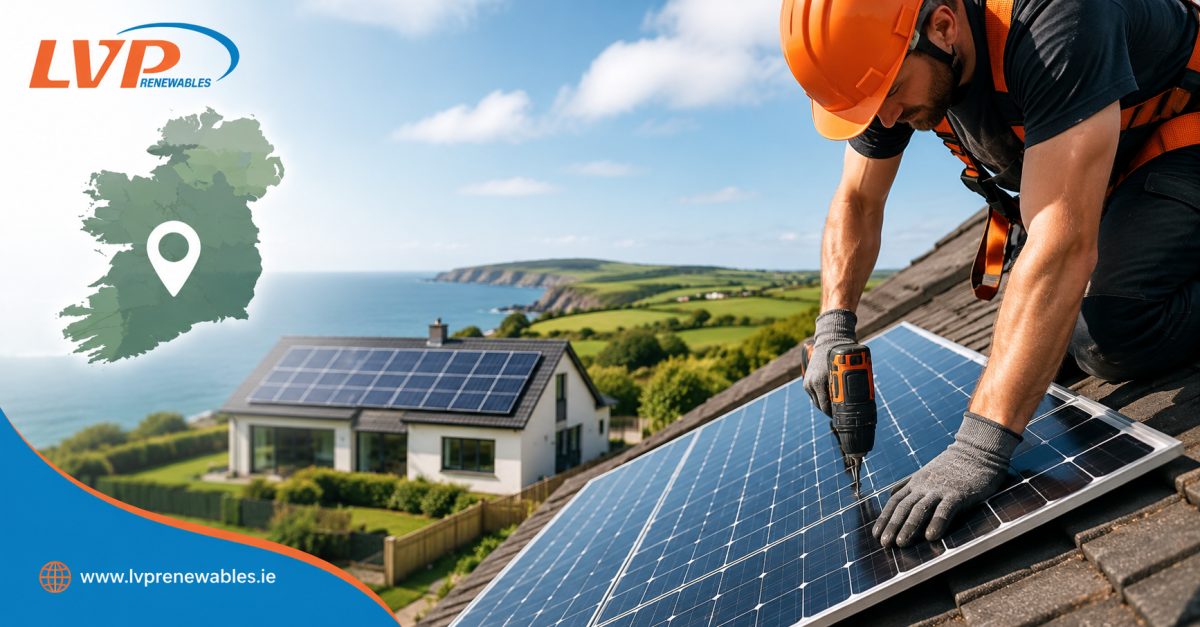
Once the design, approvals and equipment are ready, the installation team can begin. The work usually includes fitting roof mounting equipment, securing the panels, installing the inverter and connecting the system to the home’s electrical installation. Cables are routed between the panels, inverter and relevant electrical equipment. The team should follow the agreed design and take care to keep the work area safe and tidy.
A typical domestic solar installation may be completed in one or two days once the system has been designed and the parts are on site, though the exact time depends on roof access, system size, weather and any additional electrical work. LVP Renewables says the full journey from survey and grant paperwork through to installation and switch-on typically takes a few weeks; individual projects can vary.
Solar panels generate direct current (DC) electricity. The inverter converts it into alternating current (AC), which is used by most household appliances. If your system includes a battery, the design will also determine how surplus electricity is stored and later used. A grid-connected system lets the home draw electricity from the grid when solar generation is not enough.
Step 7: Test, commission and learn how to use the system
When the installation is complete, the installer should check that the panels, inverter, electrical connections and monitoring equipment are operating correctly. Ask for a walkthrough of the system and how to read its app or online portal. The monitoring system can help you see when the panels are producing electricity and how much your household is using or exporting.
Make sure you receive the relevant paperwork, including the safety file, system and equipment information, warranties, electrical documents and any grant completion forms. SEAI requires grant applicants to complete a post-works BER assessment and submit the required documentation within the grant timeframe. Keep these records in a safe place for future maintenance, warranty claims or a property sale.
Step 8: Register export and understand your electricity payments
If your system exports surplus electricity, make sure the ESB Networks microgeneration notification has been processed and ask your electricity supplier how its Clean Export Guarantee works. The CRU explains that suppliers pay customers for eligible exported electricity, recorded in kilowatt-hours, according to the supplier’s terms and rate. Payments are usually shown as a credit on an electricity bill or on a separate statement. The value of exported electricity is different from the value of electricity you use yourself, so check your supplier’s current export rate.
Step 9: Monitor performance and keep the system in good condition
After the switch-on, check the monitoring app periodically so you become familiar with your system’s normal performance. A sudden change may be worth discussing with your installer. Keep the inverter and electrical equipment accessible, and follow the manufacturer’s guidance for maintenance. Solar panels generally need limited routine attention, but the system should be inspected if you notice damage, an error alert or an unexpected drop in output. Do not climb onto the roof or attempt electrical repairs yourself.
Make your solar installation a confident investment
A successful solar panel installation in Ireland starts with a careful assessment and a system designed around the home—not simply the largest number of panels that fit on the roof. Compare detailed quotes, confirm grant approval before work begins, clarify the grid-notification process and understand what your warranties cover. With the right preparation and professional installation, you can start generating renewable electricity at home and make informed decisions about how to use or export it.
LVP Renewables offers solar consultations and tailored residential PV installations across Ireland. Contact the team to discuss your home, request a quote and learn what system may suit your needs.